
Photography is a an important part of toy collecting and customizing. Especially these days, when we put photos of everything – even our sandwiches – on Instagram. So why not photograph the favourite pieces of our collections, or our own customs that we spend some much time working on?
Also, photographs are an important part of selling, whether we are selling an idea, an object, or those old sneakers you want to get rid of on Kijiji.
I thought I would share some tricks and debunk some myths for you.
Some of you may not know this, but I am legally blind, and I have been using photography for many years to be able to understand the world around me and what’s going on. This eventually took me to learn professional photography, and one of the most important things I learned there was that photography isn’t about what you want people to see, it is about what you don’t want them to see. It is about controlling your environment so only what you want to show in that little window is visible to the viewer and lets their brains fill in the rest. In that sense, we don’t need special studios, or special lighting, or an expensive camera to create beautiful and engaging images.
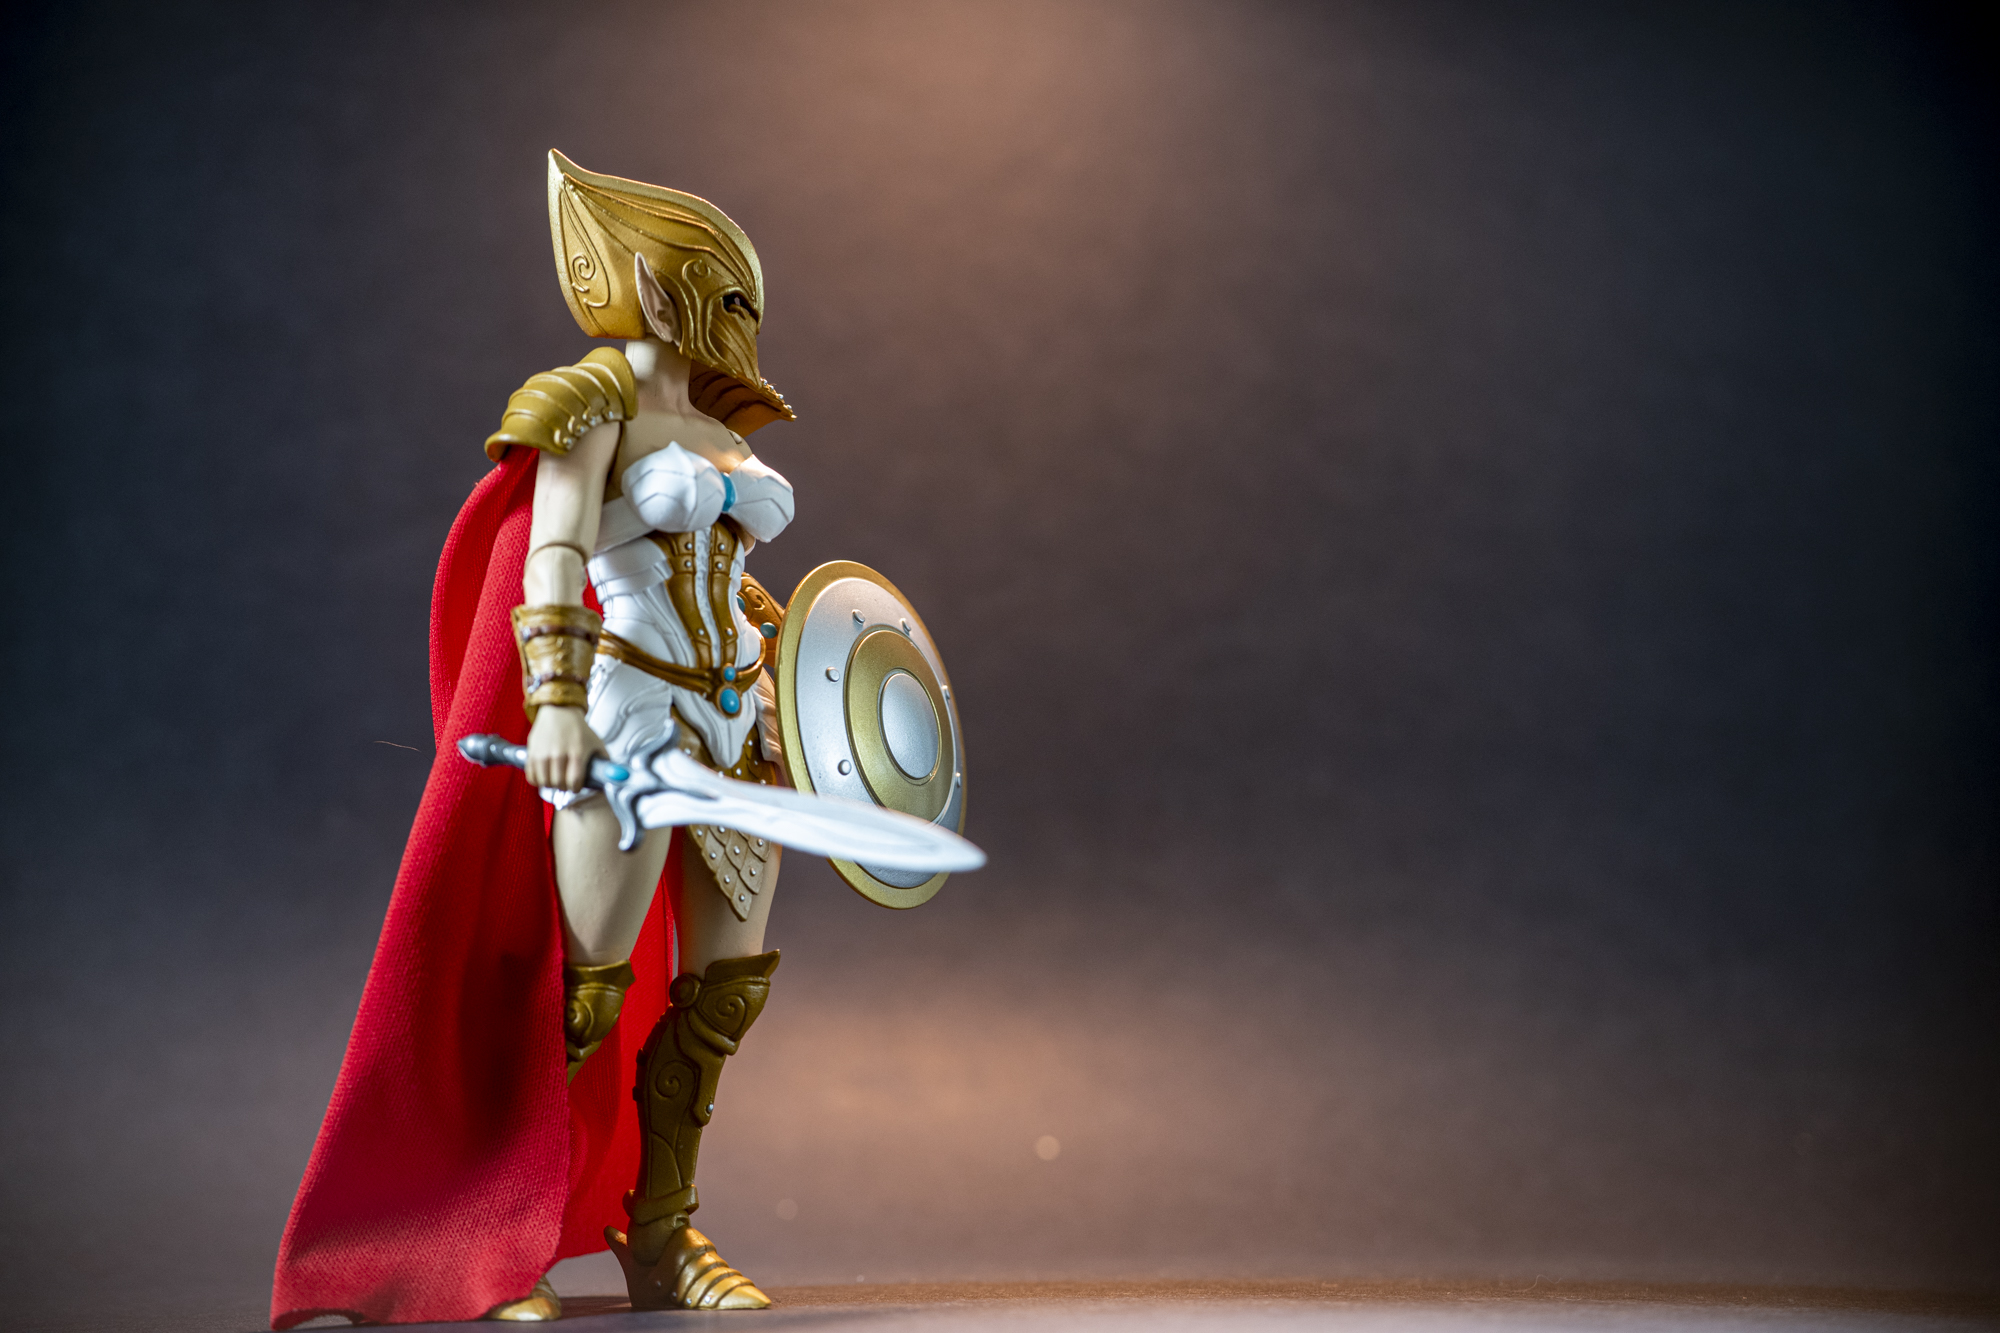
All my toy photography is done at home on top of a small table with some kind of dark or white background, and most of the time I only use natural light cast from a window close by. I do use a macro lens, but not an expensive one. I think I paid around $50 CAD on amazon.ca for mine. It isn’t fancy, nor does it have autofocus. But it does the job well, and sometimes it give me some nice optical flares, like the ones in these example. I also take a lot of photo with my iphone, which has great quality and also lets me zoom in pretty close.


But if you want to know what is absolutely necessary and can’t be missing, I would have to say a tripod. Macro photography sometimes requires long exposures and a tripod helps you avoid blurry photos and helps you focus exactly on the area you want to focus. In my opinion this is the piece of equipment that gives you the most control over what is going to be in your photo.


When it comes to lighting, another myth is that you need professional lighting or a flash. Of course, having professional lighting can improve the look of your photos when you know how to use it, but these extra lights can be hard to set up and require additional space. Now when it comes to using a flash, if used in a dark environment, they can make everything look bland or unpleasant. Plus, sometimes things you don’t want to be seen in the photo will show up, like dust and lint that can distract the viewer from what you really want to show. Don’t get me wrong, a flash can be really useful in many situations, but like everything else, we need to learn how to use it. This might be a topic for a future post, and if you are interested, I can write a post on it. But back to our main topic.
I hope that this little introduction will encourage you to have fun and experiment with any camera that you have. Just bring your objects close to a window and start practicing. In another post I will write a little bit about post-production but in reality, today almost all social media platforms come with tools that allow you to improve your images in a few clicks.


I am sharing some photos of my typical set-up and the resulting photos so that you can have a better idea of what I mean. Also, this is the cellphone holder that I use to keep my phone stable and attached to my tripod.
