
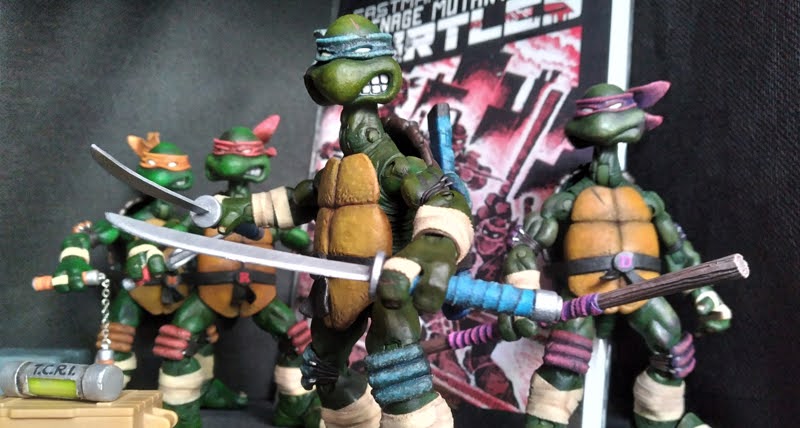
I am finally done working on my latest Teenage Mutant Ninja Turtles custom set! Someone who saw some of the work in progress I’ve posted on Facebook told me he’d like to give it a try. He asked me if I could guide him through the process. I gladly accepted and thought I could share this tutorial here.
That is the most ambitious project I’ve worked on so far. I think all the techniques I have acquired since I’ve started customizing were needed in this set. I even had to learn a couple of new tricks. Let’s keep it simple for now. Here’s a list of what I used. Of course you can go with your own goods and stuff, but always try to make some tests to guarantee a good result.
- Rit DyeMore – Synthetic Fiber Dye.
- Super Glue. There a many brands, but I trust LePage.
- Hot glue sticks. You will need only a little lenght. So if you don’t have some at home and you don’t plan on using it in the future, something else should be considered. We’ll come back to it later.
- Liquitex – Matte Medium.
- Acrylic Paint. I mostly use Liquitex, Pebeo and Demco. I suggest to buy those in art supply stores…Here’s a good one in my neck of the woods : Deserres.
- Orange, red, purple and blue
- 4 shades of green
- 4 sahdes of yellow
- 2 shades of Brown
- Silver
- Black
- White
- Glow in the dark pigments (Optional).
- Mat varnish.
- Brushes.
- Utility Knife. I wouldn’t suggest anything…go with your needs.
- Needle Files. What will be done with the files can be done with a utility knife. Again, go with your needs.
- Medical tape. Bought mine at the drugstore. I wanted to see them to choose the right one.
I will try to be back real soon to continue this tutorial step by step…in the meantime you can go watch this awesome video about dyeing action figures : How To Dye an Action Figure video. Have fun!!!