Last time, sorry for the wait, I ended Part 1 with a suggestion of a very useful video about how to dye action figures. Here it is again : https://www.youtube.com/watch?v=5OZ6bzQvARw
Here’s why I chose to dye those figures before painting them : Like a lot of toy lines nowadays, figures have a lot of complex articulations. Painting those articulations is often fighting a losing battle. Friction will most likely rub off the paint no matter how many coats and touch ups you apply. I’ve heard that sanding down the right parts is an option as it will reduce friction, but I haven’t investigated that option yet. The other technique, the one I went with, is to dye the figure in order to get the desired base color…so those articulations won’t need to be painted.
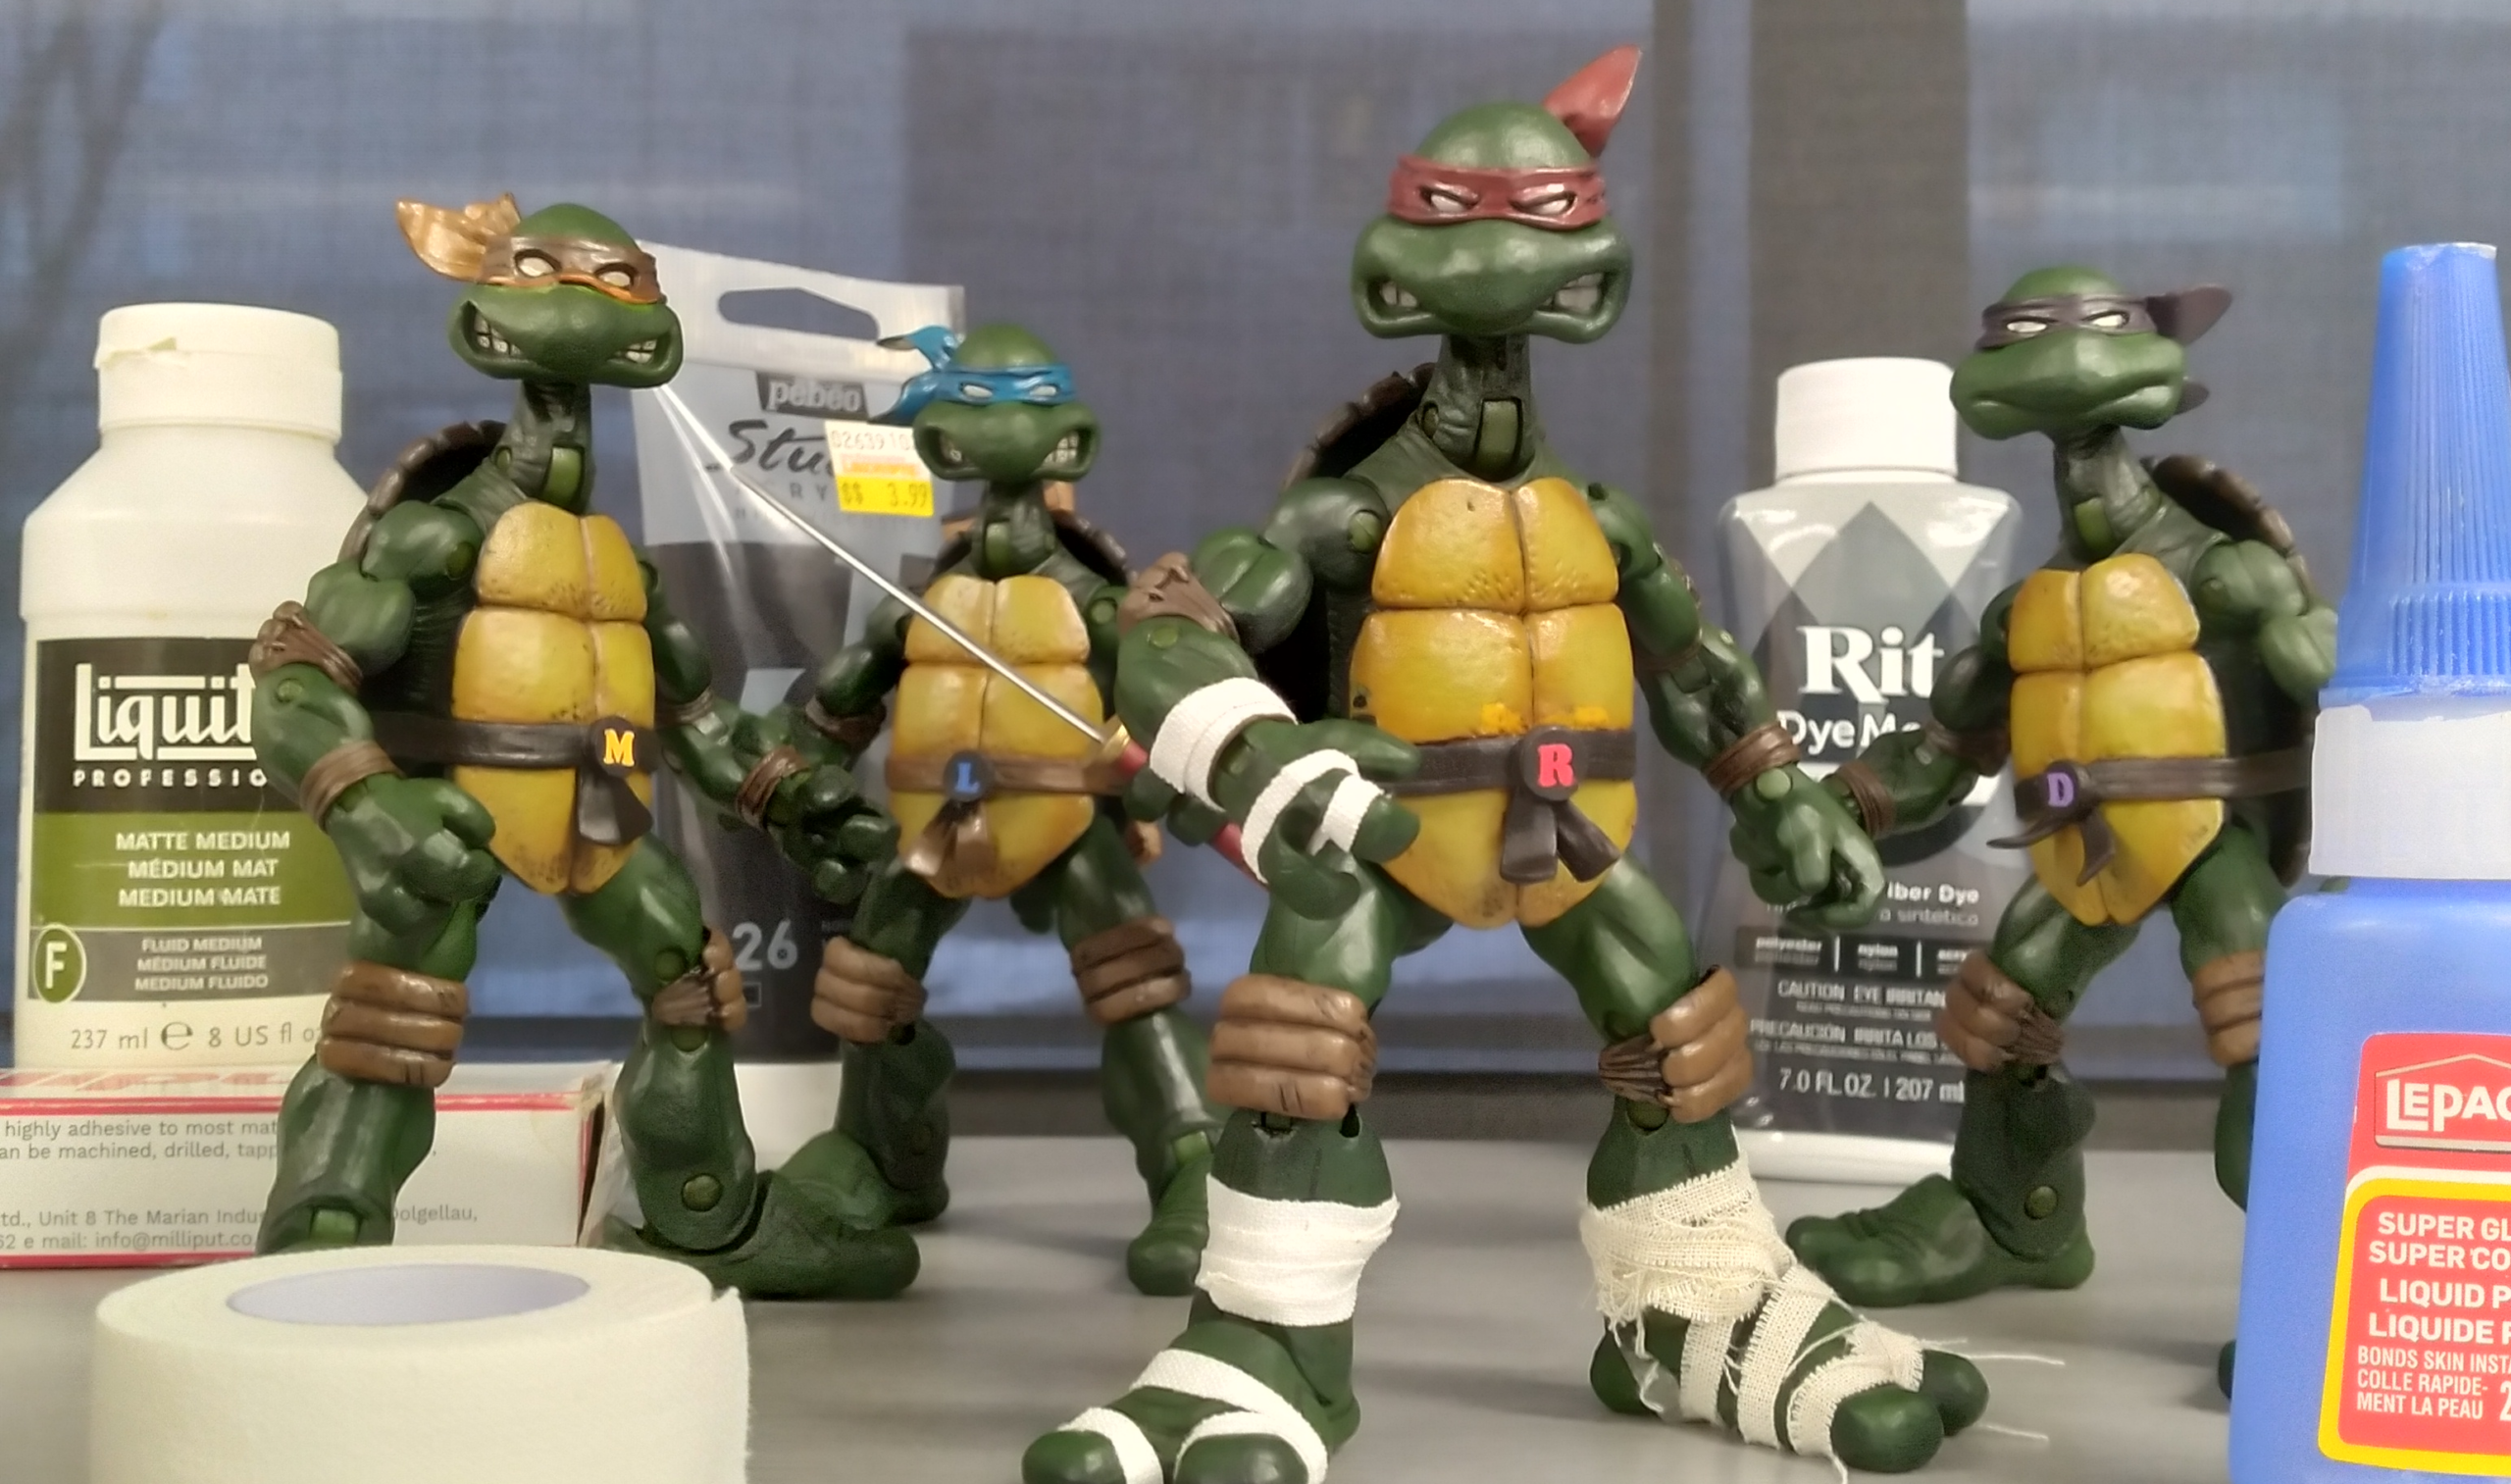
In the picture above, you can see the figures after they were dyed, getting ready to be painted. For this project, I used a graphite colored dye just to get the figures darker (Always get the Rit DyMore Synthetic Fiber Dye!!! It is said that it’s the only one that works fine). I let them simmered for 3 hours in a mix of hot water and dye, stirring them once in a while. I also often bent and twisted the articulations to make sure the dye would get everywhere in those cracks and splits. Oh, and always make sure it’s not too hot so you don’t ruin your figures. Plastic can warped or melt and you don’t want that!
Dyeing is also great for accessories by the way. Accessories are often made of soft plastic that takes in the dye very well. And since accessories are often taken in and out of figure hands, it again solves the friction issue. But dye is not magic…you won’t be able to dye a dark plastic with a light colored dye…going darker is pretty much the only option I guess. Another downside, aside from being super messy, is that it is not cheap. So dyeing as much pieces as you can in one batch might be a good idea.
So, now that I had dark turtles, I just had to paint the lighter zones, leaving the articulations unpainted. The best way I found to get a good transition from a painted to an unpainted zone is to use the glazing and the dry brush techniques which I’ll be talking about in one of my next posts.
I hope this has been useful! Like always, feel free to comment, ask questions and share your positive and/or negative experiments!! See you soon!!!

