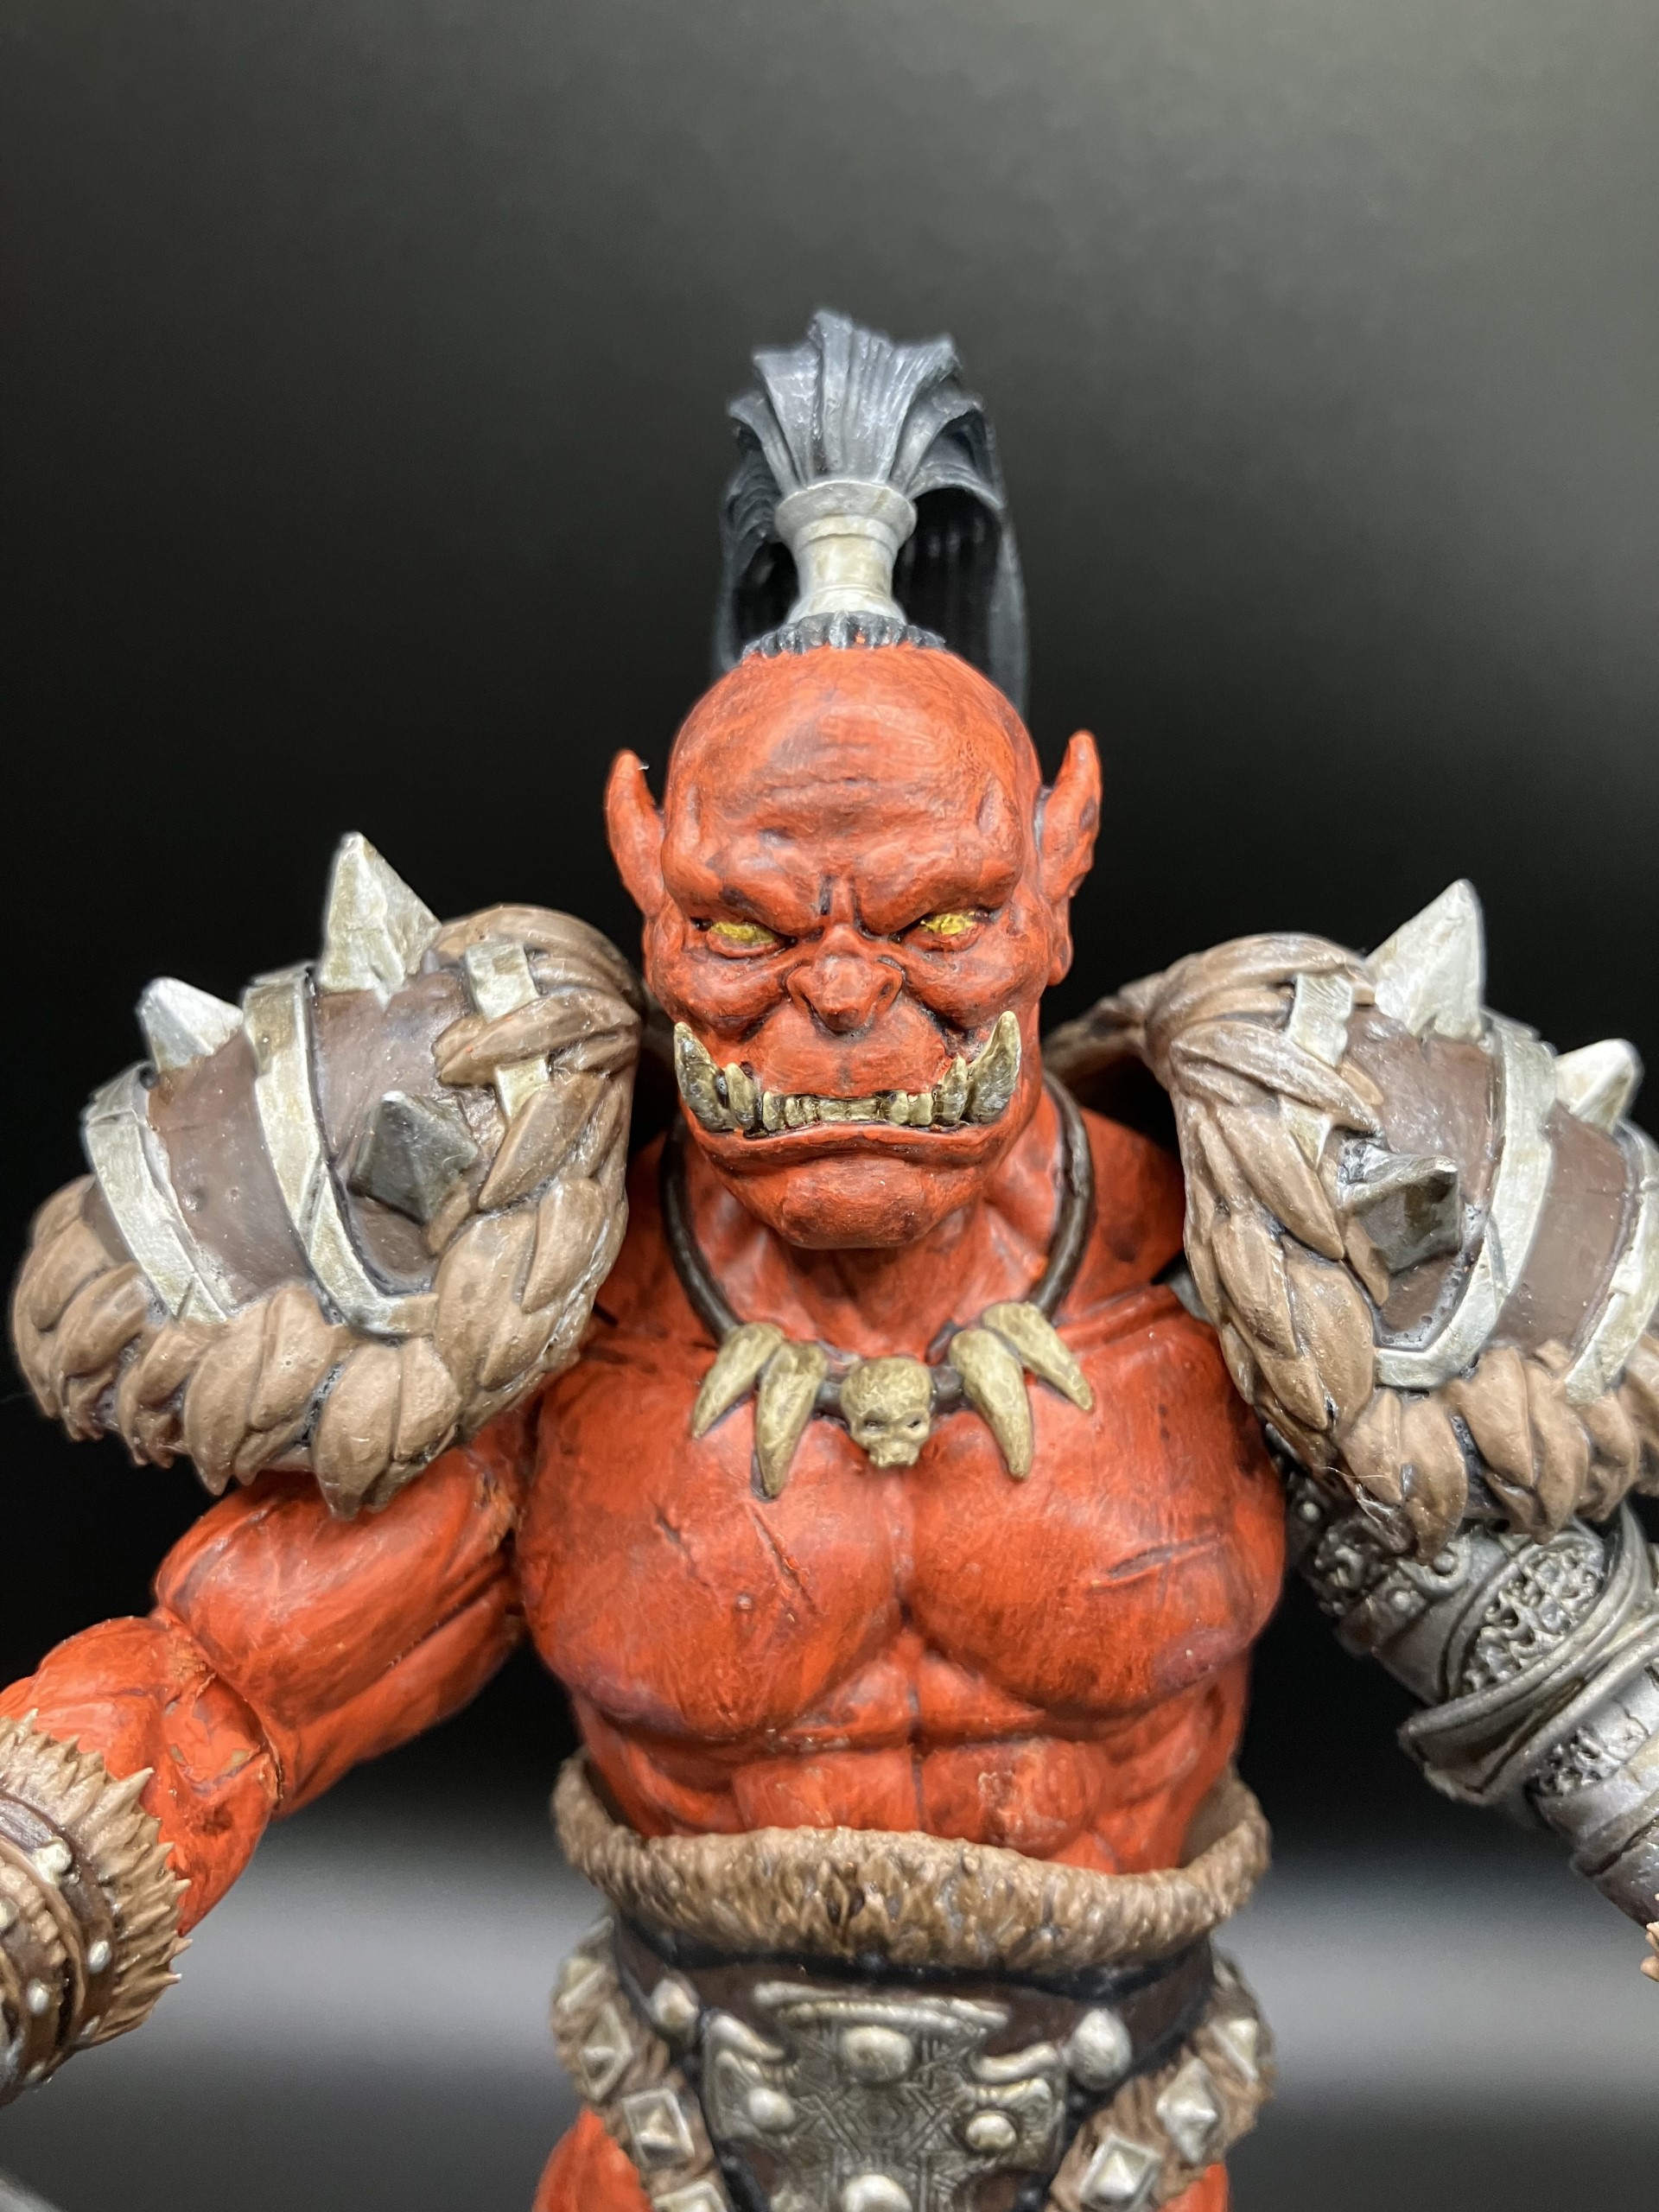
To make the Orc action figure, I first chose the parts I wanted from the Dusk till Dawn Studio.
I then drew and colored a quick sketch of the character that I wanted to make with the parts I chose. Once the figure and printed parts arrived, I dismembered the figure by submerging it in warm/hot water and I sanded down the imperfections on the printed pieces. Then, I primed all the parts with just regular white paint. I like to use The Army Painter brand, however any regular acrylic paint will work. After every piece was primed, I started painting the base colors, so orange on all of the skin, brown on the fur, and a cream color on all the cloth wrapped pieces. As with any paint, I needed to add many coats to make the color nice and opaque. I then added the secondary colors, still just blocking in the basic colors and touching up any mistakes. Once that was done, I started adding in details, like the face, necklace, and metal on the pauldrons. For faces, I like to add another color lightly blended on the cheeks, nose and ears ( pink or red for humans, and for other skin colors a lighter or warmer version of it, for example yellow for green or orange). This just helps to make the figure look a little more realistic, like there is blood flow or a bit more life, although it doesn’t always show up the best on some non-human skin tones. After everything was painted and all the details were added, I like to add a wash over it. A wash is just a bit of paint mixed with more water to around a 1:3 ratio, added over all of the parts, wiping away the excess with a paper towel. This just helps to make the figure look a bit dirty or like the character has been in battle. Once the wash is dry, I like to add a dry brush of a lighter color over top of each color ( a dry brush is just when you put a small amount of paint on your brush, and then wipe the majority of it off, only applying small amounts of color to highlight raised areas). Next, and maybe one of the most important steps, is to add a varnish over top of everything painted so that the paint doesn’t chip off. I suggest using anti-shine varnish, because the matte ones are almost never truly matte. I sometimes like to add a gloss varnish to the eyes and lips, although sometimes it can be distracting in photos. Lastly, I sanded the joints down to fit and re-assembled the parts. And that’s it!
Thanks to Dennis Derby and Leiland Oquendo for their support for this project 🙂 !!


