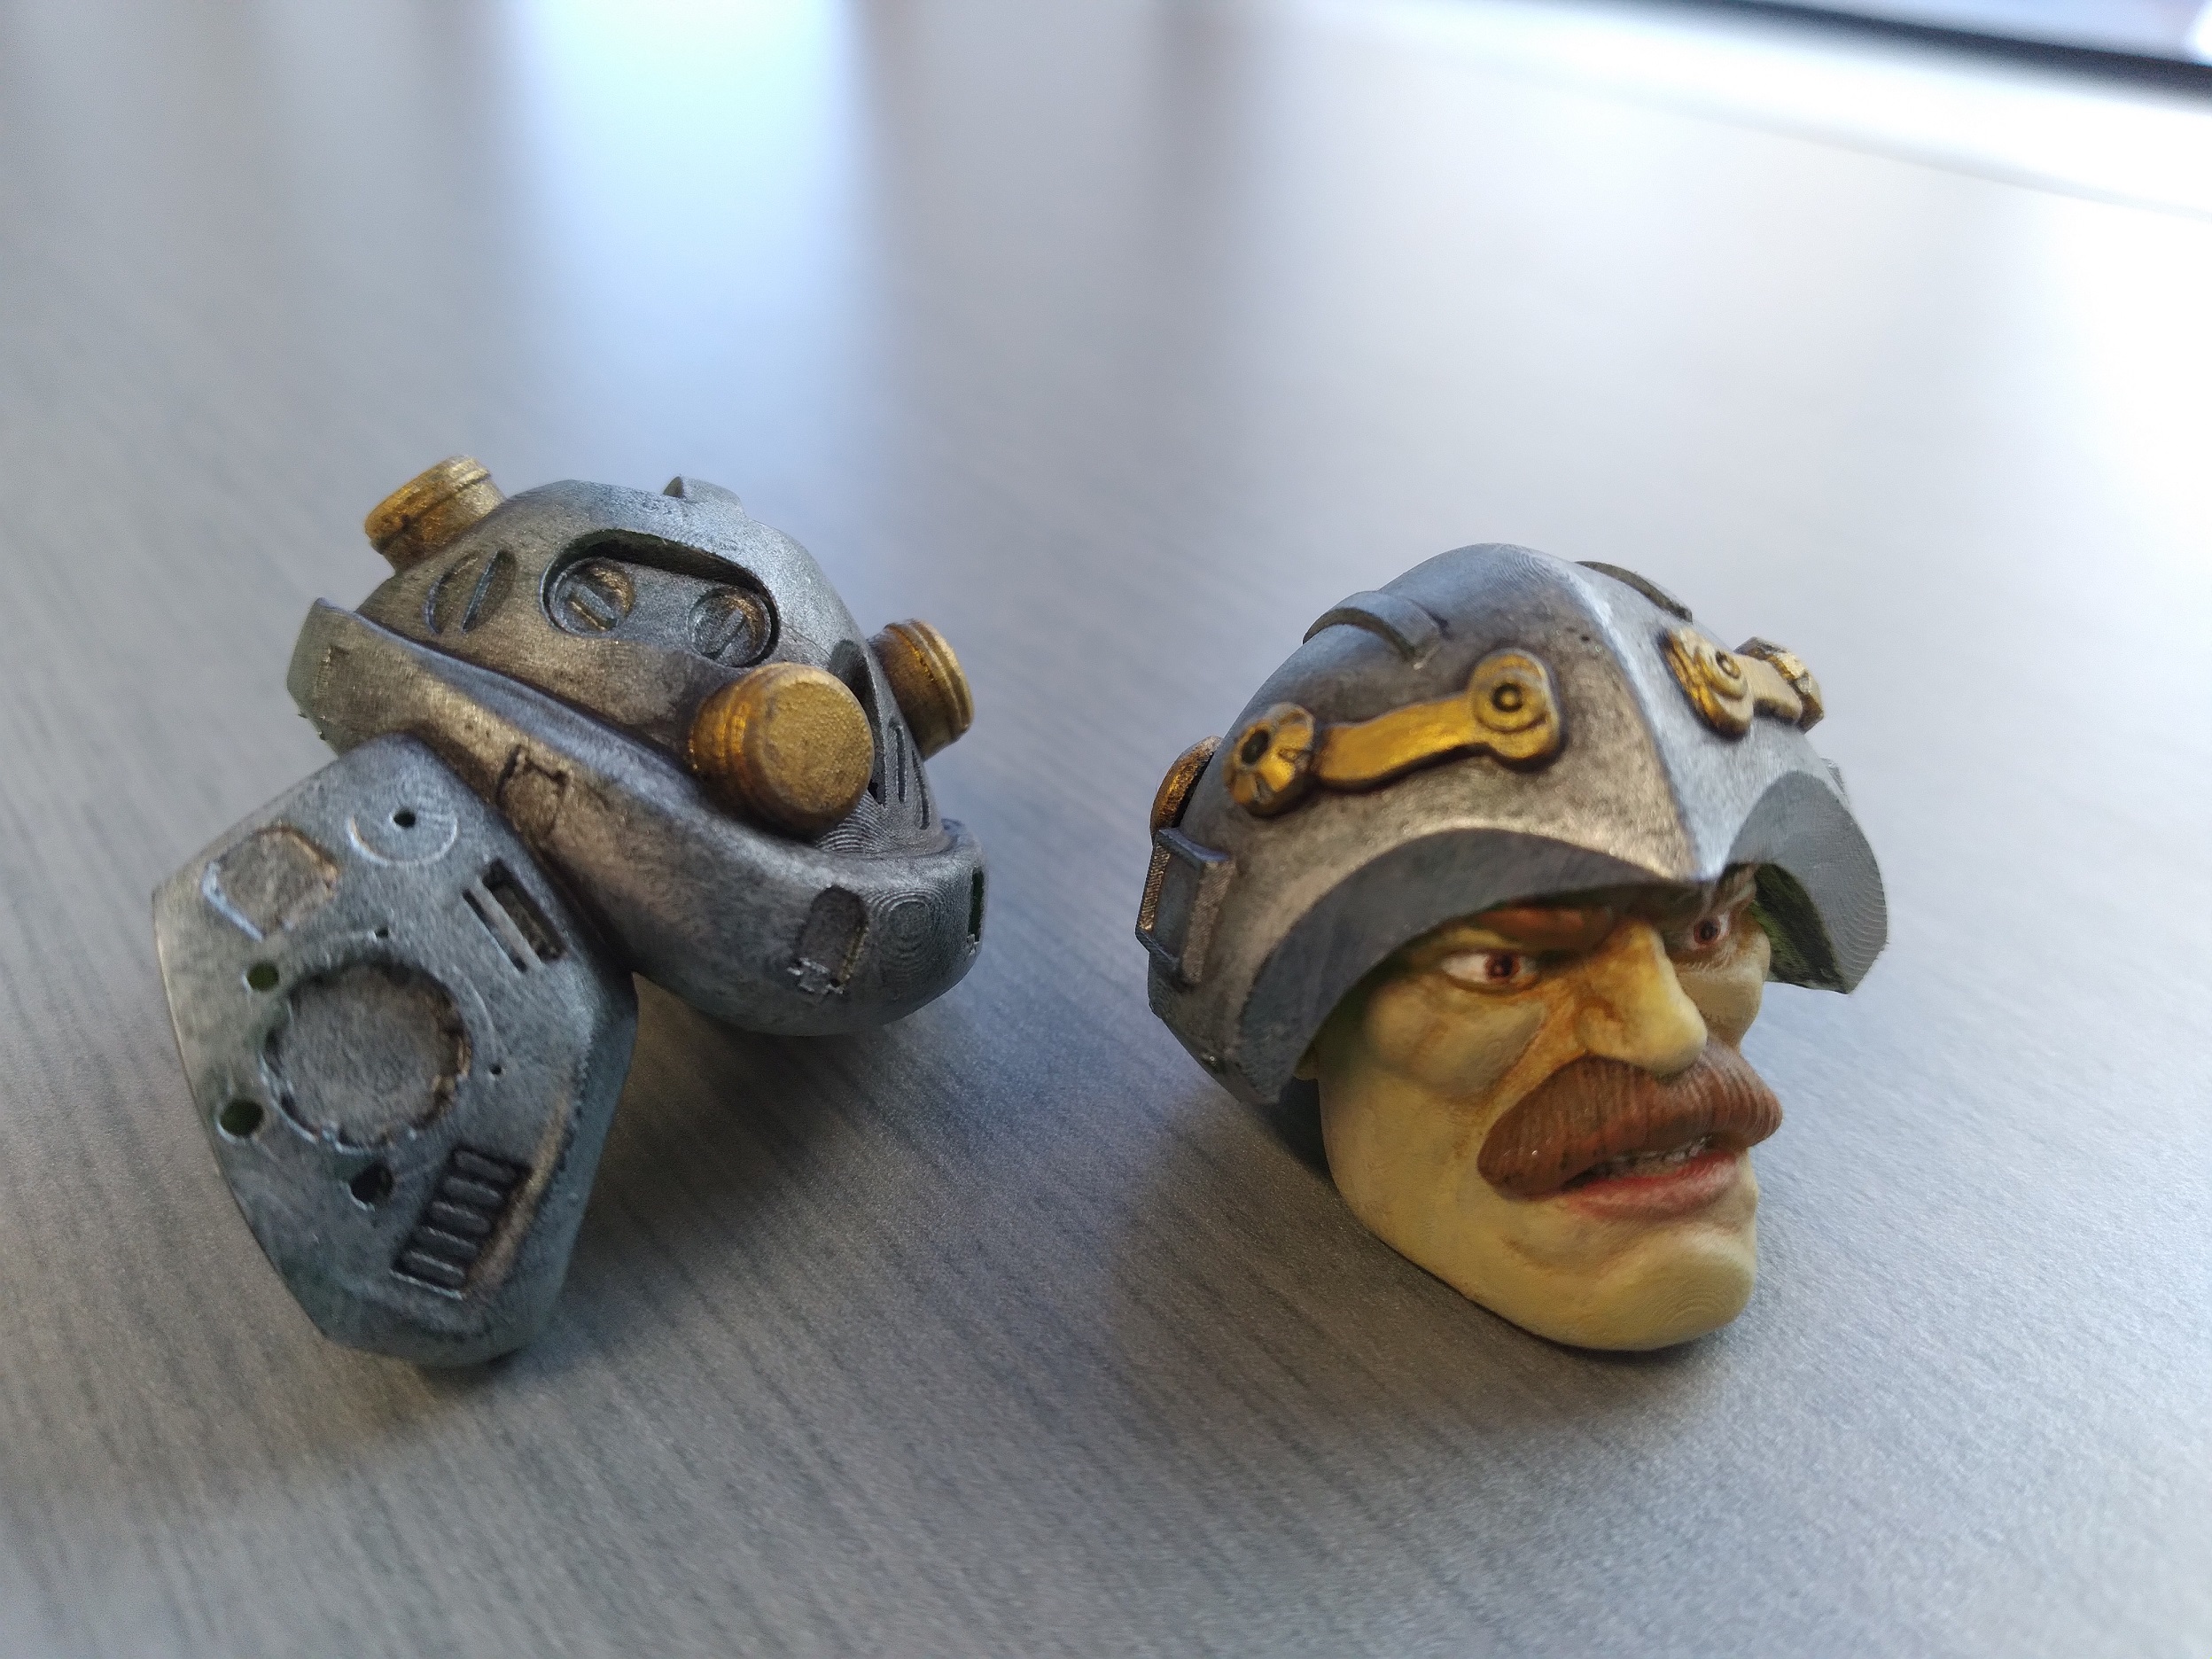
Painting is one of the basic skills you need to customize toys. Like in any art form, theory is one thing, but there is nothing like practice. The internet is already full of tutorials on how to paint so I won’t spend too much time on details here. This is just to show you what can be easily achieved in a few simple steps.

Step one : Base coat.
Note that before painting, your 3D printed parts should have been sanded and primed. For the base coat I try to keep my palette simple. Fewer colors is better. Opaque and unthinned paint is the best. Just be careful not to clog the smallest details.

Step two : Shading.
Shading can be done mixing some black paint to your base coat color or you can simply use a darker color or a darker shade of your base coat color. On the silver and brown I used black and on the skin I used brown.I sometimes thin the paint a little for this step. I always try to blend the color as I go, but touch ups can always be done later.

Step three : Lights.
Like the shading, this step can be done mixing white instead of black to your base coat color or use a lighter color or a lighter shade of your base coat color. I used a lighter silver on the silver. A light beige on the skin and moustache. Pink on the lips. White in the eyes. I often use the dry brush technic for this step and make sure again to blend my colors the best I can.

Step four : Touch ups and details.
This is the time to review your work and make all the little corrections that need to be done.

Step five : Wash.
The final step. Personally, I use thinned black or a very darker shade of my base coat colors.I never used the washes sold as is so I can’t compare. This step will make everything pop by giving depth and definition to your paint job.
These are just tips…there are no rules. Try things. Have fun. And try to learn from your mistakes. The best way to improve your paint jobs is still to paint.
Head and pauldron : Man Of Arms designed by Jason Rodriguez.

